Removing wax from porcelain tiles is an essential task for maintaining the beauty and durability of your flooring. Porcelain tiles, known for their resilience and glossy finish, can easily become dulled by layers of wax buildup over time.
Whether it’s from previous cleaning attempts or simply from everyday wear and tear, getting rid of this wax is crucial for restoring your tiles to their original shine.
This guide provides you with step-by-step instructions on how to effectively remove wax from porcelain tiles, ensuring your floors look as pristine as the day they were installed.
Removing wax from porcelain tiles is important for several reasons. Firstly, it helps in preserving the aesthetic appeal of your tiles, keeping them looking new and shiny.
Secondly, the removal of wax buildup prevents the tiles from becoming slippery, a safety concern in both residential and commercial settings. Lastly, it ensures the longevity of the tiles, as accumulated wax can hide surface damage or imperfections that need to be addressed.
Regular maintenance, including wax removal, is essential for the overall health and appearance of porcelain flooring.
Materials Needed
- Ammonia-free glass cleaner: Ideal for removing surface-level grime and preparing the tiles for deeper cleaning.
- Commercial wax stripper: Specifically designed for ceramic and porcelain tiles, ensuring the safe removal of wax without damaging the tile’s surface.
- Soft-bristle brush or sponge: To gently scrub the tiles without causing scratches.
- Microfiber cloths or towels: For drying the tiles and polishing the surface to a shine after wax removal.
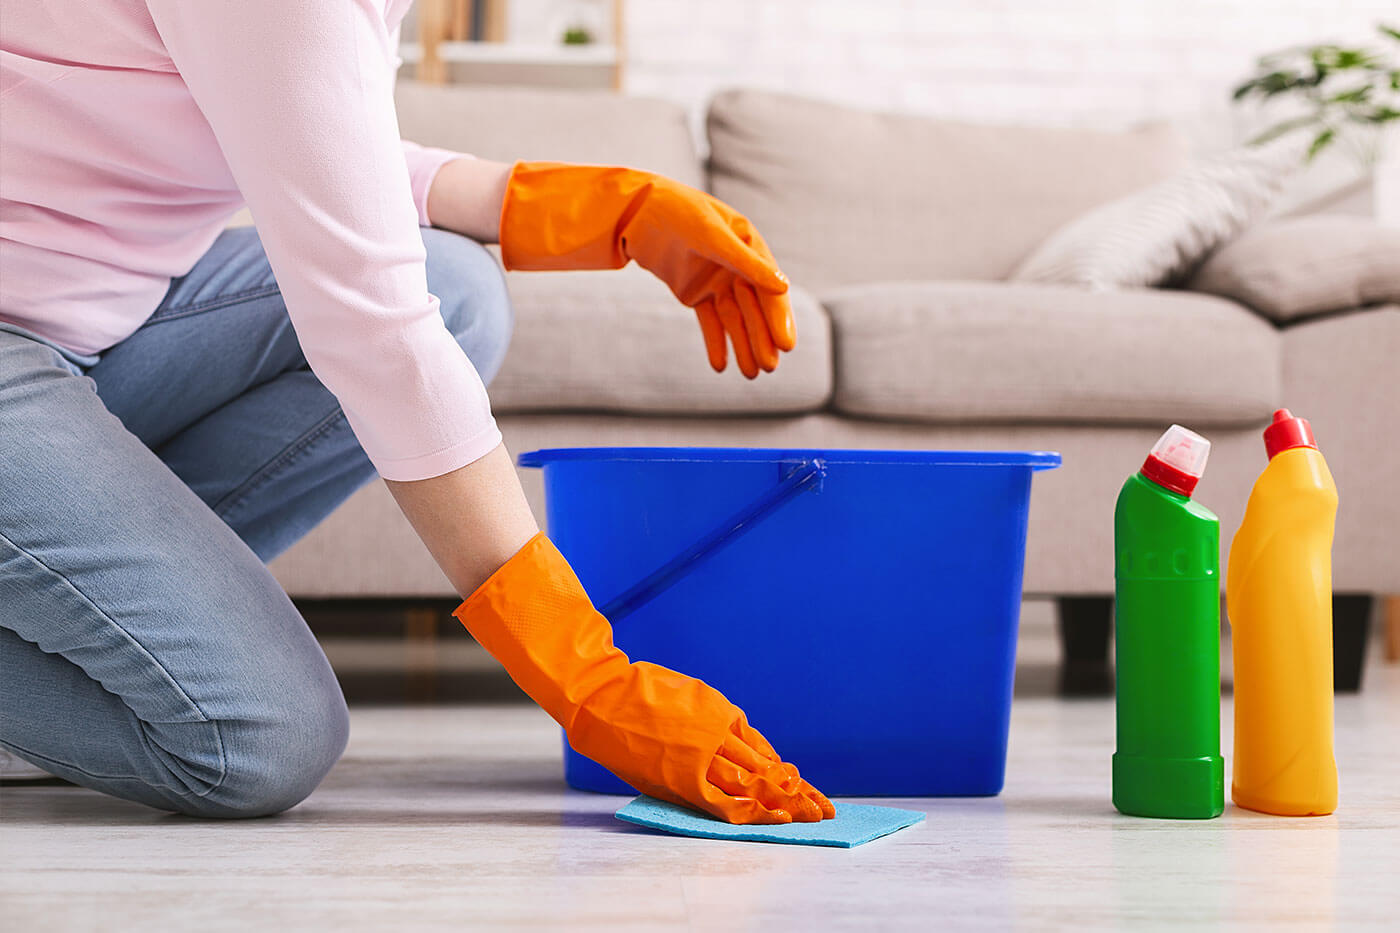
- Rubber gloves: To protect your hands from the cleaning agents, especially if you have sensitive skin.
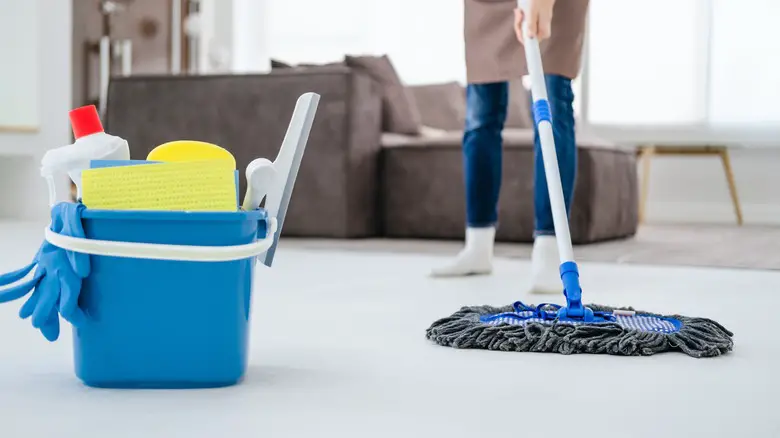
- Bucket: For mixing cleaning solutions and rinsing your sponge or brush during the cleaning process.
- Warm water: Acts as a base for diluting cleaning agents and rinsing the tiles after applying the wax stripper.
- Mop (optional): For a final clean-up of the area, ensure all residue of the wax stripper and dissolved wax is completely removed.
Safety Equipment
Keeping safety in mind during the wax removal process is crucial. Ensure you have the following safety equipment readily available:
- Rubber Gloves: Essential for protecting your hands not only from the cleaning agents used during the process but also from the potentially harsh wax stripper.
- Protective Mask: A must-have to avoid inhaling any fumes from the cleaning solutions and the commercial wax stripper, especially in poorly ventilated areas.
Preparatory Steps
Before beginning the wax removal process, it’s important to clear the area thoroughly. This means removing any furniture, rugs, or other items that might obstruct access to the porcelain flooring.
Not only does this provide you with ample space to work efficiently, but it also protects your furnishings from potential damage or exposure to cleaning chemicals. Ensure everything is moved to a safe location where it won’t be affected by the cleaning process.
This preparatory step is crucial for a smooth and effective cleaning experience.
Following the preliminary step of clearing the area, it’s essential to perform a thorough sweeping or vacuuming of your porcelain flooring.
This initial cleaning process is crucial for removing any loose dirt, dust, or debris that has accumulated on the surface.
By doing so, you guarantee that the wax stripping solution can adhere directly to the wax buildup without interference from particles that could dilute its effectiveness. Utilize a soft-bristled broom or a vacuum cleaner set to the “hard floor” mode to avoid scratching the tiles.
This step ensures that the surface is as clean as possible before applying the wax stripper, allowing for a more efficient and effective wax removal process.
Application of Cleaning Solution
Once the floor is free of loose debris, it’s time to prepare the cleaning solution that will be used to break down and remove the old wax. Typically, this involves mixing a commercial wax-stripping product with water.
However, the exact ratio of product to water can vary depending on the manufacturer’s instructions, so it’s crucial to read and follow these directions carefully.
For most products, mixing in a well-ventilated area while wearing protective gloves and a mask is recommended to avoid skin and respiratory irritation. Use a clean, sturdy bucket for the mixture to ensure that no contaminants are introduced to the solution.
Stir the mixture thoroughly to ensure the wax stripper is well-dissolved and ready for application. This step is vital for creating a potent solution capable of effectively stripping the wax from your porcelain tiles.
Applying the Solution to Waxed Areas
Once your cleaning solution is ready, it’s crucial to apply it evenly across the waxed areas of your porcelain flooring. Start by dipping a mop or soft cloth into the solution, making sure it is thoroughly saturated but not dripping excessively.
Begin at the farthest corner of the room and work your way toward the exit to avoid stepping on the treated areas. Apply the solution generously in small sections, ensuring that you cover every inch of the waxed surface.
Allow the solution to sit on the floor for the time specified by the product’s instructions, usually between 5 to 10 minutes, to effectively break down the wax.
Be vigilant during this time to prevent the solution from drying out, as this could reduce its effectiveness in stripping the wax.
If necessary, apply additional solutions efficiently to keep the surface adequately moist during the entire process. This methodical approach ensures that the cleaning solution can work effectively, setting the stage for solutions wax removal.
Scrubbing
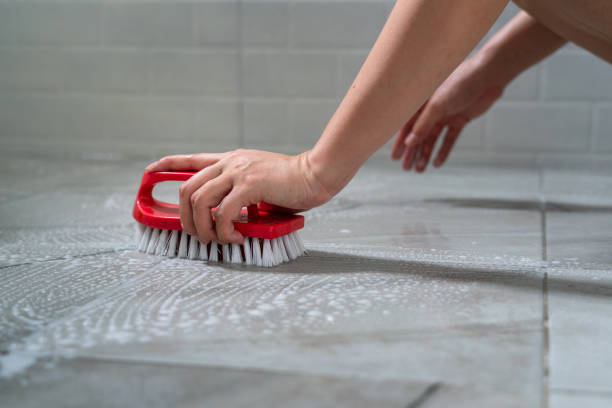
For effective scrubbing without damaging your porcelain tiles, selecting the right tools and employing proper techniques is essential. Begin by using a soft-bristle scrub brush or a non-abrasive scrubbing pad, which is tough on wax yet gentle on tiles to prevent scratching.
Apply consistent, moderate pressure in a circular motion to tackle the wax, allowing the mechanical action to lift the residue without harming the tile surface.
For those stubborn wax spots, a plastic putty knife can be gently used to carefully scrape off the buildup. Ensure the tool’s edge is flatly aligned with the tile to avoid gouges and scratches.
In some cases, applying a bit of heat with a hair dryer set on a low temperature can soften the wax, making it easier to scrub off. The key is patience and gradual application of effort to avoid tile damage.
When dealing with especially tough spots, consider using a specialized tile cleaning product approved for use on porcelain.
Apply it directly to the problematic area and allow it to sit for the recommended time before scrubbing. Always follow the manufacturer’s guidelines to prevent damage to the tile’s finish.
In summary, the effectiveness of scrubbing lies in the careful selection of tools and the application of appropriate techniques tailored to the delicacy of porcelain tiles.
With patience and the right approach, even the most stubborn wax spots can be effectively removed without leaving any damage.
Rinsing and Drying
After scrubbing your porcelain tiles, it’s crucial to employ proper rinsing techniques to ensure that all cleaning residues are thoroughly removed. Start by using a clean mop or cloth, and soaking it in clean, warm water.
Wring it out slightly, maintaining enough moisture to effectively mop up any remaining cleaning solution on the tiles.
Work in small sections, rinsing the mop or cloth frequently in fresh water to avoid spreading the residues across the tiles.
For the best results, change the rinse water as soon as it gets dirty. This prevents the dissolved wax and cleaning product from settling back onto the tiles.
Once the tiles have been rinsed thoroughly and all traces of cleaning agents are removed, it’s time to focus on drying.
To avoid water spots and ensure a streak-free finish, employing the best drying practices is essential. Begin by using a soft, clean towel or a microfiber cloth to wipe down the tiles.
These materials are highly absorbent and gentle, preventing any scratches while effectively drying the surface. For larger areas, consider using a dry mop with a microfiber pad.
If possible, enhance drying and ventilation by opening windows or using fans. This not only speeds up the drying process but also helps to evaporate any lingering moisture on the tiles, reducing the risk of water spots.
Lastly, inspect the tiles for any missed spots or areas that need touch-up drying. Pay extra attention to the grout lines, as they can retain moisture longer than the tile surface.
Gently wipe any excess moisture to ensure a uniformly dry and spotless finish on your porcelain tiles.
By meticulously following these rinsing and drying practices, you can achieve a clean, spotless finish on your porcelain tiles, maintaining their luster and extending their life.
Related Topics:
Final Touches
After ensuring your porcelain tiles are thoroughly dried, restoring their shine through buffing is the next step. Use a clean, dry microfiber cloth or an electric buffer with a soft pad attachment for this process.
Gently buff the tiles in a circular motion to bring out their natural sheen. Be cautious not to apply too much pressure, which may damage the tiles’ surface.
To prevent future buildup and maintain the pristine condition of your porcelain tiles, regular maintenance and careful waxing are crucial. Opt for a high-quality, no-wax floor cleaner for regular cleaning, which helps preserve the tile’s shine without leaving residue.
If you choose to apply wax for additional protection, ensure it’s a product specifically designed for porcelain tiles. Apply the wax sparingly and buff it thoroughly to avoid creating a layer that attracts dirt and grime.
Incorporate these practices into your cleaning routine to not only enhance the appearance of your tiles but also extend their lifespan, ensuring your floors remain an elegant feature of your home.
Conclusion
The process of removing wax from porcelain tiles is essential for the upkeep and aesthetic appeal of your flooring. The meticulous steps outlined from preparation, and application of the cleaning solution, to the final touches of buffing ensure that your tiles regain their natural luster without damage.
Not only does this enhance the appearance of your home, but it also contributes to the safety and longevity of your floors.
Remember, choosing the right products, such as ammonia-free cleaners and specially designed porcelain tile waxes, alongside regular maintenance, can prevent wax buildup and preserve the beauty of your tiles for years to come.
By incorporating these strategies into your cleaning routine, your porcelain tiles will continue to be an elegant and durable feature of your home.
FAQs
Can I use vinegar to clean porcelain tiles?
Yes, you can use a solution of vinegar and water as a natural cleaning option for porcelain tiles. Mix equal parts of water and vinegar and apply it to the tiles with a mop or cloth. However, ensure to rinse the area with clean water afterward to remove any lingering acidity that could dull the tile’s surface.
How often should I wax my porcelain tiles?
Waxing porcelain tiles is not a necessity, but if you choose to do so for extra shine and protection, doing it once or twice a year is sufficient. Excessive waxing can lead to buildup and may make the tiles slippery, posing a safety risk.
Are porcelain tiles waterproof?
Porcelain tiles are highly resistant to moisture, making them an excellent choice for areas prone to water exposure like bathrooms and kitchens. However, while the tiles themselves are waterproof, the grout between them is not, so proper sealing is recommended to ensure complete water resistance.
1 thought on “Removing Wax From Porcelain Tiles Safely”