Discovering scratches on your beautiful porcelain tiles can be disheartening. Whether they are from daily wear and tear, moving furniture, or an accidental drop of a heavy object, these imperfections can detract from the overall look of your space.
Fortunately, removing scratches from porcelain tiles is not as daunting as it might seem. This guide will walk you through the necessary steps to restore the pristine appearance of your tiles, ensuring they remain a focal point in your home for years to come.
Porcelain tiles are renowned for their durability and aesthetic appeal, making them a popular choice for flooring in homes and commercial spaces alike. These tiles are crafted from refined clay and fired at high temperatures, resulting in a dense, hard finish that is resistant to moisture, stains, and wear.
Additionally, their variety of colors, patterns, and textures allow for versatile design options, enhancing any room’s appearance. However, despite their robustness, porcelain tiles are not immune to damage.
They can be susceptible to scratches, especially in high-traffic areas or from sharp objects, which can mar their beauty and necessitate repairs to maintain their pristine condition.
Preparation
Cleaning the Area
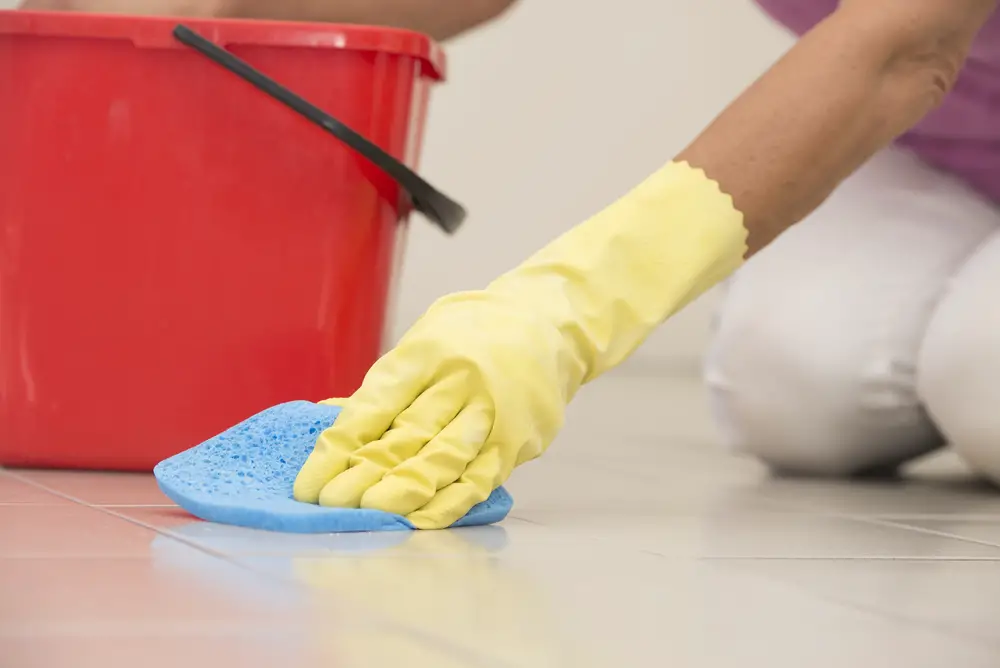
Credit: Shutterstock
To begin the repair process, it’s crucial to clean the scratched area thoroughly to remove any dust, dirt, or debris that could interfere with the scratch removal.
Use a gentle, non-abrasive cleaner and a soft cloth or sponge to carefully clean the area. It’s important to avoid harsh chemicals or abrasive tools that could cause further damage to the tile’s surface.
Drying Before Proceeding
After cleaning, make sure the area is completely dry before moving on to the scratch-removal process. Any moisture left on the tile can hinder the effectiveness of the repair materials.
A clean, soft towel can be used to gently dry the surface, ensuring that it’s ready for the subsequent steps in restoring your porcelain tiles to their original condition.
Scratch Assessment

Evaluating Scratch Severity
To accurately address the damage, it’s essential to evaluate the depth and severity of the scratches on your porcelain tiles. Use a bright light source and angle it so that it shines directly across the surface of the tiles.
This will highlight any imperfections, making it easier to assess the damage. Scratches can generally be classified into light, which only affects the surface glaze; medium, which penetrates deeper but not through the glaze; and deep, which reaches the tile body.
Light scratches often require minimal intervention, perhaps only a polish, whereas medium and deep scratches might necessitate more comprehensive repair methods, such as filling and refinishing.
Understanding the extent of the damage will guide you in selecting the most appropriate repair technique, ensuring the longevity and aesthetic of your porcelain tiles.
Deciding on the Appropriate Repair Method
After assessing the severity of the scratches on your porcelain tiles, selecting the appropriate repair method is crucial for effective restoration.
For light scratches, a simple DIY polish using a specialized porcelain tile polish can be enough to mask the imperfections. This method is the least invasive and preserves the tile’s integrity while restoring its shine.
For medium scratches that pose a more significant cosmetic issue but haven’t damaged the tile’s body, a repair kit designed for porcelain tiles can be used.
These kits typically include a filling compound that is applied to the scratch, left to harden, and then sanded down to the level of the tile surface. It’s important to carefully match the color of the compound with your tile to ensure a seamless repair.
Deep scratches, which penetrate through the glaze and into the body of the tile, are the most challenging to repair. In some cases, it may be necessary to completely replace the damaged tile.
However, if replacement isn’t an option or preferred, you can use a filling compound similar to that used for medium scratches but followed by a more extensive refinishing process.
This might include painting the repaired area with a glaze that matches the original tile’s appearance and baking it on if the product requires such a step.
Always ensure that the refinished area is sealed properly to protect against future damage.
Each repair technique requires a careful approach to ensure that the repair blends seamlessly with the surrounding area and restores the tile’s appearance effectively.
Techniques for Removing Light Scratches
Using Fine-Grit Sandpaper
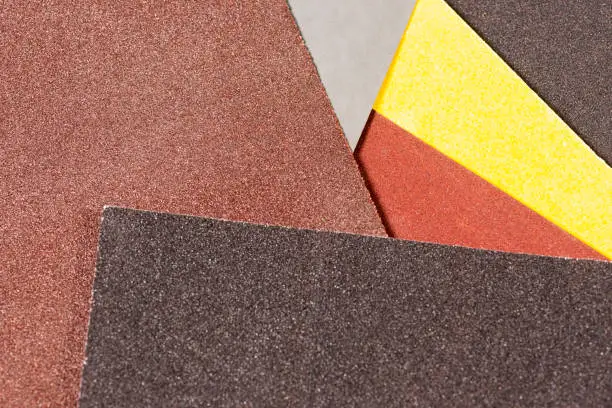
When dealing with light scratches on porcelain tiles, one effective method is to use fine-grit sandpaper. This approach gently removes the uppermost layer of the tile surface, diminishing the visibility of scratches without causing further damage.
It’s crucial to use sandpaper with a grit suitable for porcelain to avoid worsening the scratch. Gentle, circular motions over the scratch can gradually fade its appearance, making the tile look as good as new with a bit of patience and care.
Applying Tile Polish
For homeowners seeking a less abrasive method, applying a specialized tile polish may be the ideal solution. Tile polishes are designed to fill in minor scratches and restore the tile’s original luster without altering its texture.
The polish should be applied according to the manufacturer’s instructions, typically involving a soft cloth or sponge for application.
After allowing it to dry, buffing the area with a clean, soft cloth will reveal a smooth, shiny surface, effectively masking light scratches and enhancing the tile’s overall appearance.
Detailed Instructions for Gentle Application
For any method used, whether sanding or polishing, the key to a successful application lies in the gentleness of the approach. When using fine-grit sandpaper, it is essential to start with the lightest pressure possible and gradually increase as necessary, always moving in circular motions to ensure an even application.
This prevents creating new scratches or deepening the existing ones. Similarly, when applying tile polish, use a soft cloth or sponge and apply the polish in a thin, even layer over the entire area of concern, avoiding excessive buildup.
Allow the polish to sit for the recommended time per the manufacturer’s instructions before gently buffing it out with a clean, soft cloth in circular motions.
This careful approach ensures that the repair blends seamlessly with the surrounding tile, maintaining the aesthetic and functional integrity of the floor or wall.
Addressing Deeper Scratches
Using a Porcelain Tile Repair Kit
For deeper scratches that cannot be mitigated through gentle sanding or polishing, a porcelain tile repair kit presents a viable option. Specifically formulated to address imperfections in porcelain tiles, these kits often come with a range of colors to match the tile’s original hue.
The process involves cleaning the affected area thoroughly, mixing the repair compound according to the instructions, and then applying it carefully to fill the scratch.
Once the compound has dried and cured, it can be sanded lightly to ensure it is flush with the tile surface, effectively concealing the scratch and restoring the tile’s appearance.
Mixing and Applying the Repair Compound
To achieve optimal results from a porcelain tile repair kit, proper mixing and application of the repair compound are imperative. Begin by ensuring the area around the scratch is clean and free of debris.
Next, according to the kit’s instructions, combine the compound components. This often involves accurately measuring and mixing a hardener with a base compound until a consistent color and texture are achieved.
Using a provided applicator or a small, fine-tipped tool, carefully apply the compound to the scratch, filling it but avoiding overflow onto surrounding areas.
Allow the compound to dry fully, adhering to the time specified in the instructions, before proceeding to any sanding or finishing steps. This meticulous process helps restore the tile’s pristine appearance with minimal evidence of the original damage.
Finishing Touches
Buffing to Restore Shine
After the repair compound has dried and been sanded to match the level of the surrounding tile, buffing the treated area is the final step to restore its original shine. Use a soft, clean cloth or a buffing pad specifically designed for porcelain to gently buff the surface.
Circular motions work best to evenly distribute the pressure and avoid creating any new marks. This process not only enhances the shine but also helps in blending the repaired area with the rest of the tile, ensuring a seamless finish.
With patience and careful attention to detail, the tile can look as good as new, with the scratch effectively invisible.
Maintenance Tips for Preserving Tile Beauty
To ensure the longevity and beauty of your porcelain tiles, regular maintenance is key. Routine cleaning with a pH-neutral cleaner can prevent dirt buildup that could otherwise scratch or dull the surface.
Avoid using abrasive scrubs or cleaners that can damage the tile’s finish. Additionally, for areas prone to moisture, such as bathrooms, make sure to dry the tiles after usage to prevent water spots and the growth of mold or mildew.
Periodically, inspect the grout between the tiles, repairing any cracks or damage to avoid water seepage beneath the tiles which could lead to loosening over time.
Related Topics:
Preventive Measures for the Future
To safeguard your porcelain tiles against future scratches and maintain their aesthetics over time, adopting preventive measures and establishing regular maintenance routines is crucial. Placing protective pads under furniture legs can significantly reduce the risk of scratches, especially in high-traffic areas.
Also, consider implementing a “no shoes” policy indoors to minimize the introduction of rough particles that can scratch the tile surface.
Regularly sweeping or vacuuming to remove debris, followed by mopping with a gentle cleaner, will keep your tiles looking pristine. Investing in quality doormats at entrances can catch much of the dirt before it reaches your tiles.
These simple yet effective strategies not only extend the life of your tiles but also preserve their beauty, ensuring they remain a highlight of your home decor for years to come.
Conclusion
So, the discovery of scratches on porcelain tiles need not be a cause for despair. With the right approach and tools, these imperfections can be effectively repaired, restoring the tiles’ beauty and preserving the overall appearance of your space.
Whether you’re dealing with light, medium, or deep scratches, the key is to assess the severity, choose the most appropriate repair method, and apply it with care and precision.
Remember, regular maintenance and preventive measures are essential in keeping your tiles in pristine condition, making them resilient against the usual wear and tear that comes with daily use.
FAQs
Can all types of scratches on porcelain tiles be repaired at home?
Light and medium scratches can often be repaired at home with the right tools and techniques, such as using repair kits or fine sandpaper. However, deep scratches that affect the tile structure might require professional repair or tile replacement.
Is it necessary to replace a porcelain tile if it has a deep scratch?
Not always. If the scratch is very deep and affects the tile’s integrity, replacement might be the best option. However, professional repair services can sometimes restore the tile without needing to replace it, depending on the damage’s extent.
How often should I clean my porcelain tiles to maintain them in good condition?
Regular cleaning, ideally weekly, using a soft broom or vacuum for debris removal and a gentle mop with a mild detergent for mopping, helps maintain the porcelain tiles’ appearance and prevent scratches from everyday dirt and grit.