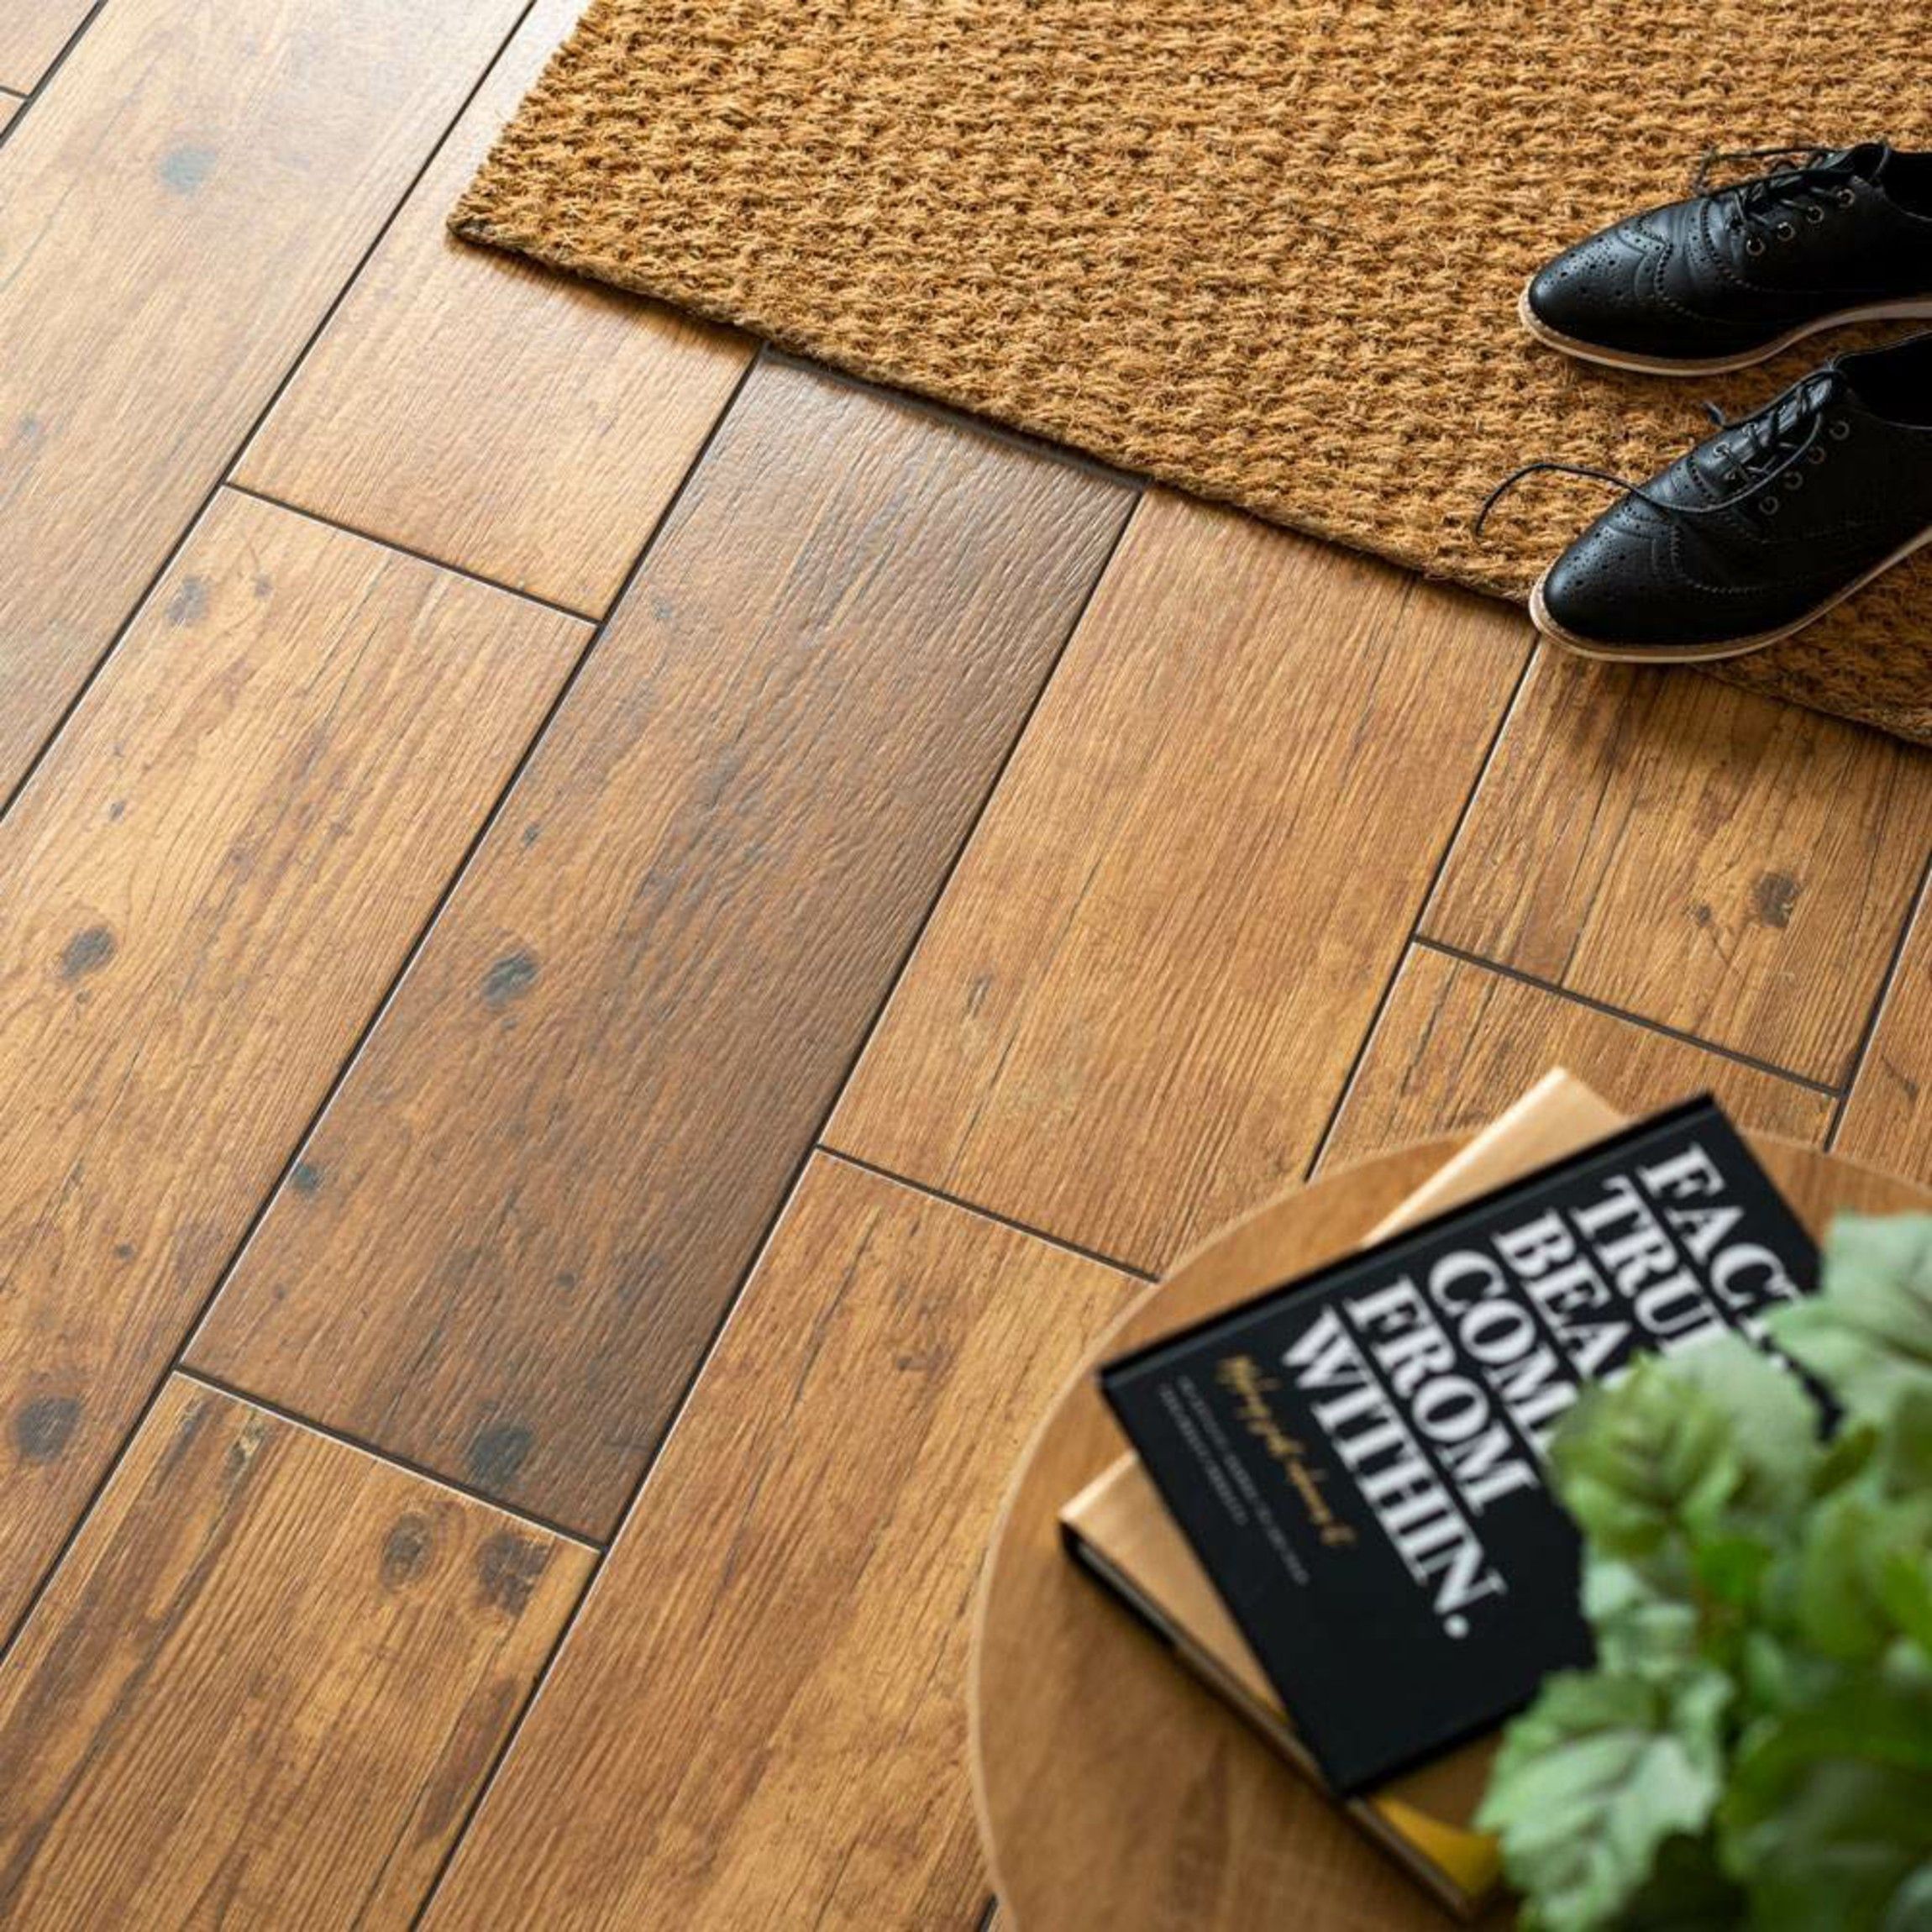
Laying porcelain tiles on a wooden floor offers an elegant, durable solution for transforming any living space. Porcelain, known for its robustness and versatile aesthetics, can significantly upgrade the ambiance of a room.
However, the process requires meticulous preparation and knowledge to ensure the wood subfloor is perfectly suited for such an upgrade. This guide will walk you through essential steps and considerations to achieve a flawless installation, ensuring your porcelain tiles look beautiful and last for years.
Porcelain tiles stand out as an exceptional flooring option due to their durability, moisture resistance, and wide range of designs.
Unlike other materials, porcelain maintains its allure with minimal upkeep, making it ideal for high-traffic areas in homes and businesses alike.
When it comes to wooden floors, the importance of proper installation cannot be overstated. Adhering to precise preparation and installation techniques ensures the longevity of the tiles and preserves the integrity of the wooden subfloor beneath.
This not only enhances the overall appearance but also significantly increases the value of your property.
Without correct installation practices, the beauty and durability of porcelain tiles could be compromised, leading to potential issues down the line.
Preparation of Wooden Floor
Levelness and Stability
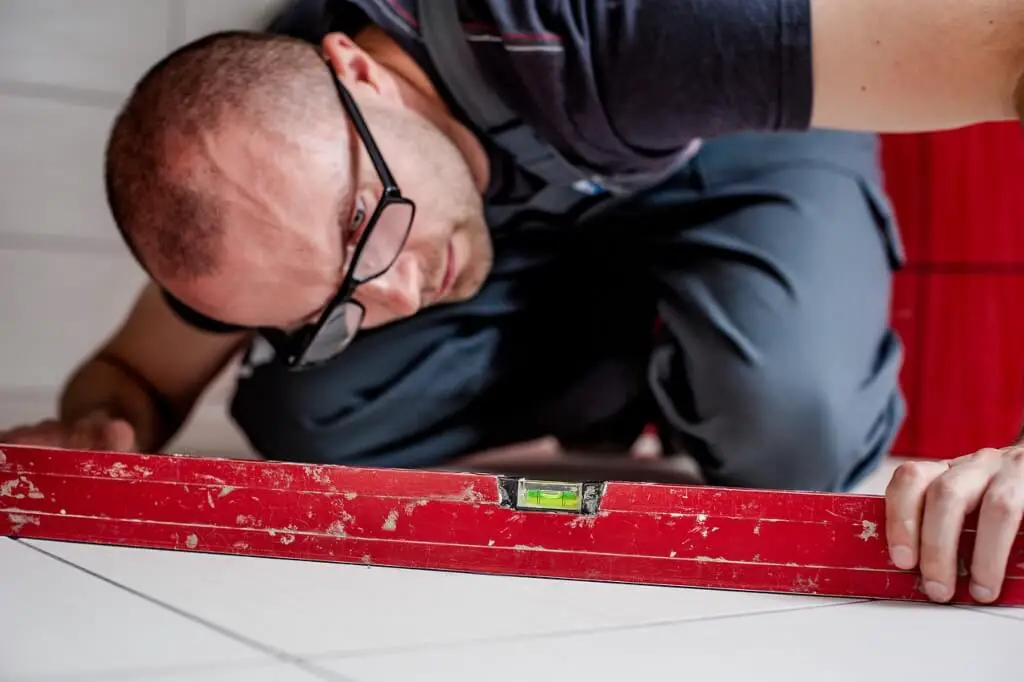
Before laying porcelain tiles on a wooden floor, it is critical to check the floor for level and stability. This step is essential to avoid uneven tile placement, which can lead to premature cracking and movement.
A level floor ensures that tiles lay flat against the surface, providing a solid foundation that enhances the longevity and appearance of your flooring project.
Necessary Materials and Tools for Preparation
Before you begin the process of laying porcelain tiles on a wooden floor, gathering the necessary materials and tools is a crucial step. Here’s a list to ensure you are fully prepared for the task ahead:
- Level: To check the floor for levelness ensuring a uniform tile placement.
- Sander or Sandpaper: For smoothing out any uneven sections of the wooden floor.
- Plywood Sheets: Used to create an even, stable base if the existing floor is not suitable.
- Moisture Barrier or Underlayment: Essential for protecting the wooden floor from moisture that can seep through the tiles.
- Adhesive Primer: Improves the bond between the wooden floor and the tile adhesive.
- Notched Trowel: For applying tile adhesive evenly.
- Tile Adhesive: Specific for wooden subfloors to accommodate the difference in material expansion.
- Measuring Tape and Pencil: For accurate measurements and marking where tiles will be placed.
- Tile Spacers: To maintain even gaps between tiles for grouting.
- Mixing Paddle and Bucket: For preparing tile adhesive and grout.
- Chalk Line Tool: To mark guidelines for tile placement.
Preparing the Wooden Floor
Before laying your tiles, the wooden floor must be adequately prepared to ensure a successful tiling project. Begin with a thorough cleaning to remove any dirt, dust, or debris.
Next, assess the levelness of the floor using a level; any uneven areas should be sanded down or filled in to achieve a flat surface. If extensive unevenness is present, installing a layer of plywood sheets can provide a stable and level base for your tiles.
Additionally, apply a moisture barrier or underlayment to protect the wood from potential water damage.
Finally, an adhesive primer should be applied to enhance the bonding between the wooden surface and the tile adhesive. These preparatory steps are crucial for a durable and aesthetically pleasing finish.
Choosing the Right Porcelain Tiles
Different Types and Finishes of Porcelain Tiles

Porcelain tiles come in a vast array of types and finishes, each suited for specific applications and aesthetic preferences.
Glazed porcelain tiles have a coating applied to their surface, which can give an array of colors and patterns, making them ideal for decorative finishes.
Unglazed porcelain tiles, on the other hand, are solid and uniform throughout the entire tile, offering a more durable finish that’s perfect for high-traffic areas.
In terms of finishes, matte finish tiles offer a non-glossy, natural look that’s perfect for a modern aesthetic and is less slippery when wet, making them a safe choice for bathrooms and kitchens.
Polished porcelain tiles have a glossy surface that reflects light beautifully, creating a sense of space and elegance. However, they may require more maintenance to keep them looking pristine.
For those seeking a textured look, textured porcelain tiles mimic the feel of natural materials such as stone or wood, adding depth and character to any room.
Each type and finish of porcelain tile offers unique benefits, allowing for customization based on personal style and functional needs.
Considerations for Wooden Floor Tiling
When selecting tiles for wooden floors, several key considerations must be taken into account to ensure compatibility and longevity.
Firstly, weight is a critical factor; porcelain tiles are heavier than ceramic and other types, which means assessing the structural integrity of the wooden floor is essential to prevent damage.
Additionally, the selection of tile size can influence the room’s visual aesthetic as well as the practicality of installation on a wood substrate.
Small to medium-sized tiles are often recommended for their ease of installation and ability to better accommodate the slight expansions and contractions of wooden floors.
Lastly, choosing the right color and pattern that complements the existing wood finishes and interior decor can seamlessly integrate the tiled area with the rest of your home, creating a cohesive look.
Installation Materials and Tools
Required Materials for Tile Installation
Tile Adhesive: A necessary component for attaching tiles to the floor surface. Make sure to choose an adhesive suitable for porcelain tiles and the specific conditions of the area being tiled (e.g., moisture resistance for bathrooms).
Grout: Used to fill the spaces between tiles. Available in various colors, allowing for aesthetic customization to match or contrast the tiles.
Spacers: Essential for maintaining even gaps between tiles, ensuring a professional look, and facilitating grout application.
Sealant: A waterproof sealer applied over the grout lines, enhancing durability and protecting against moisture.
Essential Tools for Tile Installation
Tile Cutter: A must-have tool for cutting tiles to the desired size and shape. Options include manual cutters for straight cuts and wet saws for more complex shapes and sizes.
Notched Trowel: Used to spread tile adhesive onto the floor, ensuring an even and secure bond. The notch size should correspond to the tile size.
Level: Essential for ensuring tiles are laid evenly across the floor, avoiding uneven surfaces that can lead to tripping hazards.
Grout Float: A rubber tool used to apply and press grout into the spaces between tiles, and then remove excess grout from the tile surface.
Sponge and Bucket: Needed for cleaning the tile surface after grouting, removing excess grout and any adhesive residues.
Knee Pads: Not a direct installation tool, but highly recommended for personal comfort and protection during the installation process.
Laying Porcelain Tiles

Step-by-Step Guide on Laying Porcelain Tiles
Measuring the Area:
Start by accurately measuring the area where you plan to lay the tiles. This includes length, width, and, importantly, taking into account any irregular parts of the room.
These measurements will help you calculate the number of tiles needed, including extra for waste and cuts.
Cutting the Tiles:
Using your tile cutter, begin by marking the tile with a pencil where the cut needs to be made. For straight cuts, a manual tile cutter suffices. Place the tile in the cutter, aligning the cutting wheel with your mark.
Press firmly and slide the cutter across the surface of the tile, then apply pressure to break the tile cleanly along the scored line.
For irregular shapes, a wet saw is preferable, allowing for precise cuts and minimizing tile breakage.
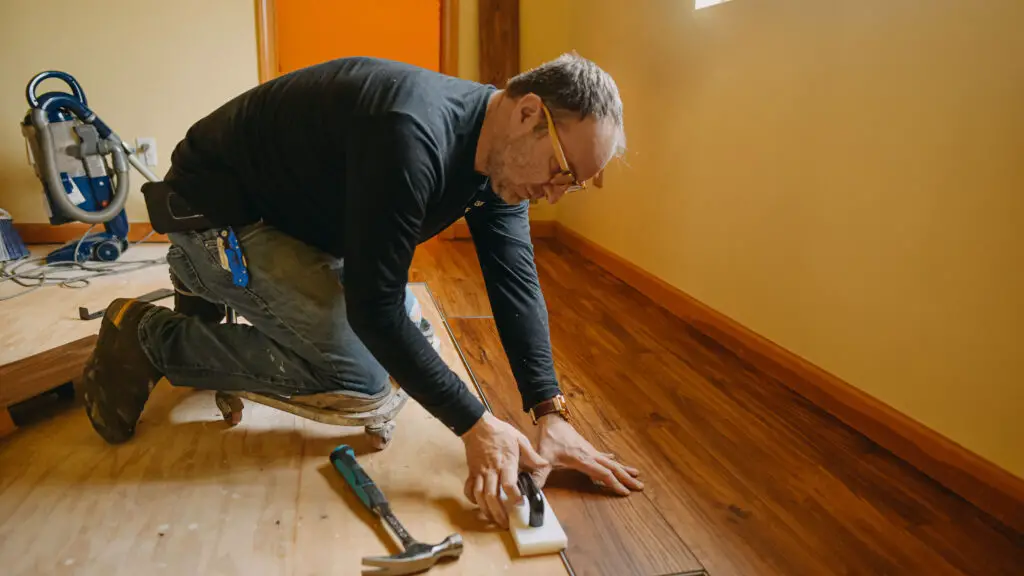
Placing the Tiles:
Before applying adhesive, do a ‘dry layout’ by laying out your tiles on the floor to visualize the final look and make any necessary adjustments.
Once satisfied, mix your tile adhesive according to the manufacturer’s instructions. Using a notched trowel, spread a thin layer of adhesive onto the floor, starting from one corner of the room.
Place the tiles firmly into the adhesive, using spacers to maintain even gaps for the grout. Continue this process, working in small sections, until the entire area is tiled.
Applying Grout:
After the adhesive has been set (usually after 24 hours), remove the spacers and prepare the grout as per its instructions. With a rubber grout float, apply the grout firmly into the gaps between the tiles, ensuring there are no voids left.
Use diagonal movements to pack the grout fully. Wipe away any excess grout from the tile surface with a damp sponge.
Sealing the Grout:
Once the grout has fully cured, which can take up to a few days depending on the type, apply a sealant over the grout lines. This step is crucial in moisture-prone areas like bathrooms and kitchens to prevent water penetration and grout deterioration.
Tips for Achieving Professional-Looking Results:
Consistent Tile Spacing:
To ensure a uniform and professional appearance, use tile spacers of the same size throughout the installation. This will help maintain even grout lines and contribute to the overall aesthetic appeal of the tiled area.
Level as You Go:
Frequently check the level of the tiles both horizontally and vertically as you proceed. Uneven tiles can detract from the final appearance, so it’s important to adjust them while the adhesive is still wet.
Measure Twice, Cut Once:
Accurate measurements and cuts are key to minimizing waste and ensuring that the tiles fit perfectly, especially in corners or around fixtures. Always double-check your measurements before cutting.
Keep Tiles Clean:
Remove any adhesive or grout from the surface of the tiles with a damp sponge before it hardens. This will help to avoid any haze or residue on the tiles after the job is completed.
Use the Right Tools:
Invest in quality tiling tools, such as a reliable tile cutter, notched trowels, and a rubber grout float. Quality tools can significantly affect the ease of installation and the finished appearance.
Grouting and Finishing
Mixing and Applying Grout
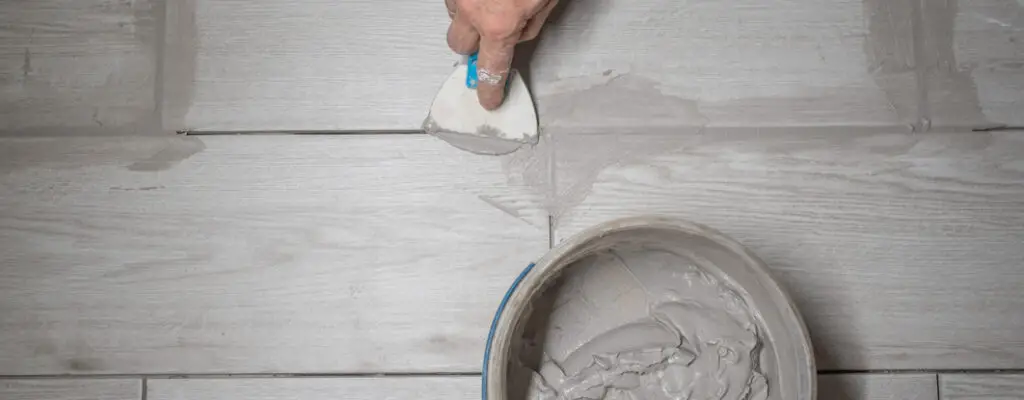
Once your tiles are securely in place and have had adequate time to set, the next step is mixing and applying the grout.
Begin by selecting the correct type of grout for your project be it sanded, unsanded, or epoxy-based, depending on the width of your grout lines and the type of tile used.
Follow the manufacturer’s instructions to mix the grout to a smooth, peanut butter-like consistency.
Using a rubber grout float, apply the grout at a 45-degree angle to the lines, pressing firmly to ensure the spaces between tiles are filled.
Work in small sections to prevent the grout from drying too quickly. After applying, wait for the grout to slightly set typically 10 to 15 minutes before wiping off the excess with a damp sponge.
Avoid pressing too hard so as not to remove grout from the lines.
Cleaning and Sealing Tile Surfaces
After the grout has cured, a final clean-up of the tiled surface is necessary to remove any lingering haze with a clean, damp cloth or sponge. Use a specially formulated grout haze remover for stubborn areas, following the manufacturer’s directions closely.
Sealing the grout lines is the final step in the tiling process. Using a quality grout sealant, apply it carefully according to the product instructions.
This will help protect against staining and moisture absorption, extending the life and appearance of your tiled surface. Remember, some sealants require a reapplication every year or two, so keep the specific recommendations in mind for ongoing maintenance.
Related Topics:
Maintenance Tips
Regular cleaning and care are essential to maintain the beauty and longevity of porcelain tiles. For everyday cleaning, use a soft cloth or mop with warm water and a mild detergent, ensuring not to use abrasive cleaners that could scratch the surface.
For heavier soiling, a mixture of vinegar and water can be an effective natural cleaner. Always rinse the tiles with clean water to remove any detergent residue and dry them with a clean cloth to prevent water spots.
Despite their durability, porcelain tiles can sometimes chip or crack due to heavy impact. For small chips, a repair kit matched to the color of your tiles can effectively conceal the damage.
Apply the filler as directed and allow it to dry completely before smoothing the area with fine-grit sandpaper. For larger cracks, replacing the affected tile is often the best solution.
Carefully remove the damaged tile and any adhesive from the substrate.
Apply new adhesive, set the replacement tile, and fill the grout lines. Allowing it to cure as recommended will ensure your tiled surface looks as good as new.
Conclusion
In conclusion, laying porcelain tiles on a wooden floor is a project that combines elegance with durability, significantly enhancing the ambiance of any room.
By following the detailed steps outlined in this guide, from ensuring the stability and level of the wooden floor to choosing the right type of porcelain tiles and applying them with precision, homeowners can successfully transform their living spaces.
The robustness, moisture resistance, and minimal maintenance needs of porcelain make it an ideal choice for flooring over wooden subfloor.
However, the success of such an installation hinges on meticulous preparation and adherence to proper techniques, ensuring that the beauty and integrity of the floor are preserved for years to come.
Whether for enhancing the value of your property or simply to upgrade your living experience, laying porcelain tiles on a wooden floor is a worthwhile endeavor that promises both aesthetic allure and long-lasting performance.
FAQs
Can porcelain tiles be laid on any type of wooden floor?
Porcelain tiles can be installed over various wooden floors, provided the subfloor is sturdy, level, and free of deflection. It’s crucial to assess and prepare the wooden floor properly to ensure a successful installation.
How long should I wait before walking on newly laid porcelain tiles?
It is recommended to wait at least 24 hours before walking on newly laid porcelain tiles. This allows the adhesive to cure properly. However, the exact time may vary depending on the adhesive used, so always follow the manufacturer’s instructions.
Is it necessary to seal porcelain tiles once installed?
Porcelain tiles generally do not require sealing due to their low porosity. However, the grout lines between the tiles should be sealed to protect against moisture and dirt.