When it comes to home improvement tasks, knowing how to properly cut glass mosaic tiles can be a game-changer. Whether you’re looking to create a beautiful backsplash or a stunning wall feature, mastering this technique can ensure a seamless finish and minimize wastage.
In this guide, we will walk you through a step-by-step process on how to cut glass mosaic tiles, ensuring that you can achieve professional results from the comfort of your own home.
Safety is paramount when cutting glass mosaic tiles. Handling sharp tiles and tools without appropriate safety measures can lead to serious injuries. Always wear safety glasses to shield your eyes from any shards, and gloves to protect your hands from cuts.
Furthermore, ensure that your workspace is well-lit and free of clutter, reducing the chances of accidents.
Remember, safety comes first, and by taking these precautions, you can ensure a smooth, accident-free home improvement project.
Required Tools and Equipment
Here are the tools and equipment you will need to effectively cut glass mosaic tiles:
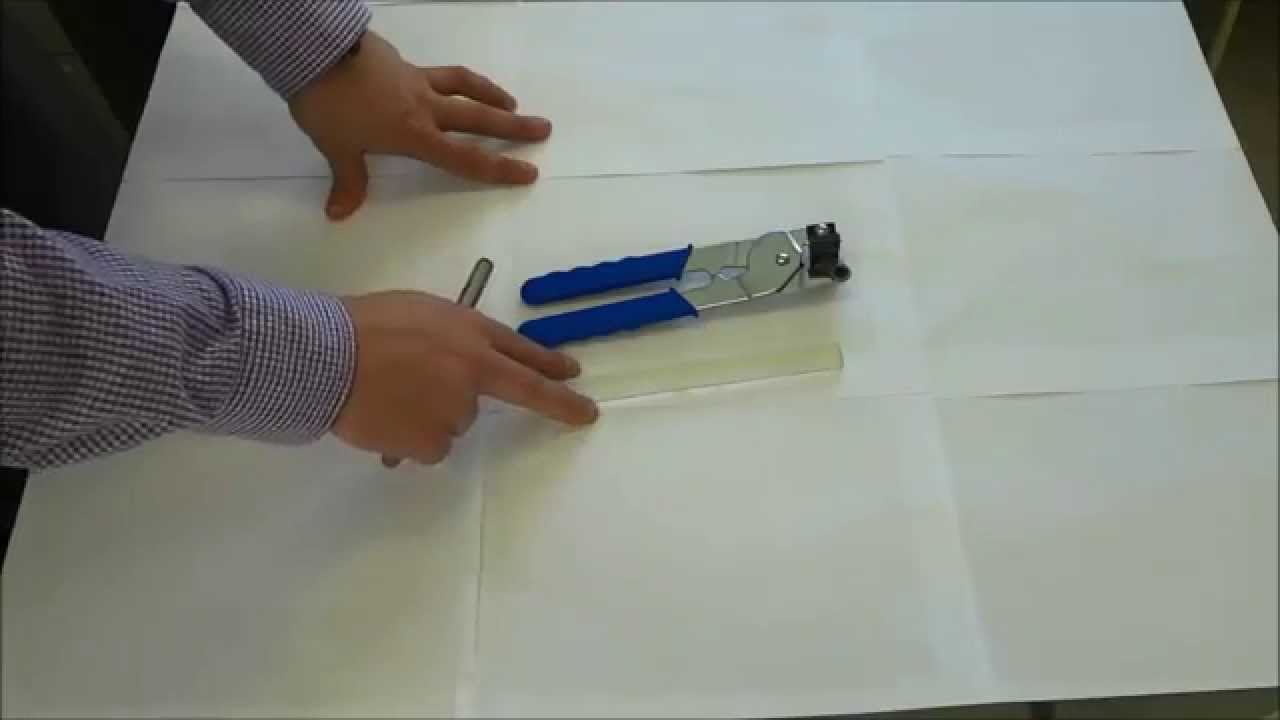
- Glass Mosaic Tile Cutter: This specialized tool is designed to easily cut through glass tiles, ensuring a clean, precise cut every time.
- Running Pliers: These are used to apply even pressure to the score line, which helps in breaking the tile cleanly.
- Wheeled Nippers: These are particularly useful for making irregular cuts or for trimming small amounts of your tiles.
- Workbench or Cutting Mat: This provides a stable surface for your cutting operations. A mat with a grid can assist in making precise measurements.
- Marker: A non-permanent marker is useful for marking your cutting lines on the tile.
- Ruler or Straightedge: This is essential for making straight cuts.
- Safety Glasses and Gloves: As mentioned before, safety should always be your primary concern when handling and cutting glass tiles.
Preparation
Cleaning the Tiles
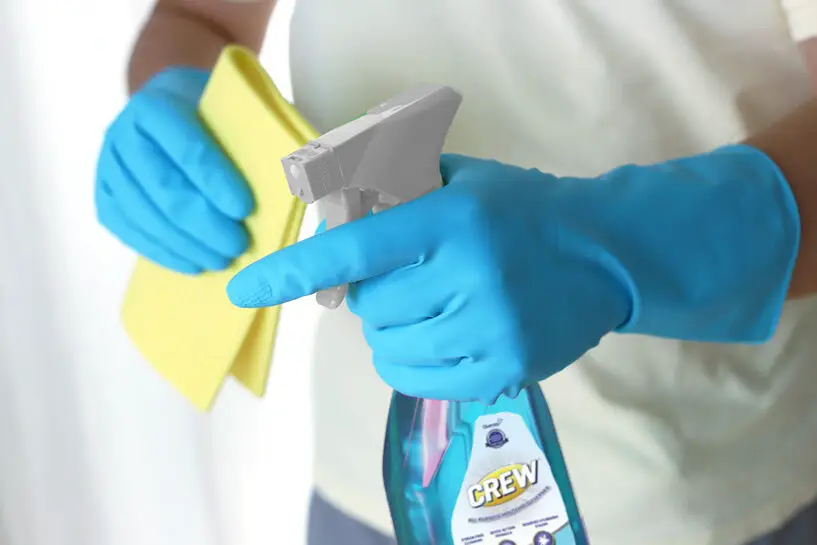
Before you begin cutting your glass mosaic tiles, it’s crucial to ensure they are clean. Any dust, grease, or dirt on the surface can affect the precision of your cuts and the effectiveness of your marker lines.
Start by gently wiping the tiles with a soft, damp cloth to remove any dust or debris. If there are stubborn stains or grease spots, use a mild detergent diluted in warm water.
Rinse thoroughly and dry the tiles before starting to cut. Remember to handle the tiles carefully to avoid any scratches or damage. If your tiles have a mesh backing, be sure not to soak them as this can loosen the glue.
Marking the Cut Lines
Once your glass mosaic tiles are clean and dry, you’re ready to mark the cut lines. Start by measuring where you want to cut using a ruler or straightedge and mark the line with your non-permanent marker.
Ensure that the line is straight and visible. If you’re making multiple cuts, it’s essential to mark all lines before you begin cutting. This allows you to ensure that your measurements are correct and that the finished pieces will fit together properly.
Always double-check your measurements before cutting, as once a tile is cut, it cannot be uncut. By correctly marking your cut lines, you can ensure a precise, clean cut every time.
Safety Precautions
Wearing Protective Gear

Before starting the cutting process, it’s essential to equip yourself with the appropriate safety gear to protect against potential accidents.
Always wear safety glasses to shield your eyes from small shards or particles that might fly off during cutting. Wearing heavy-duty gloves can provide an extra layer of protection and prevent cuts or injuries to your hands from sharp tile edges.
If you’re using a wet saw, consider wearing waterproof clothing or an apron to keep yourself dry. Lastly, if you’re working in a confined space, a dust mask may be necessary to avoid inhaling any fine dust particles produced during cutting.
Remember, safety should always be your top priority when working with glass mosaic tiles.
Safe Handling of Sharp Tools
When dealing with sharp tools, such as glass cutters and tile nippers, effective and safe handling is paramount. Always keep these tools in good condition and replace them when they become dull, as a dull tool often requires more force to use and can slip, causing injury.
Ensure the tools are gripped firmly but not too tightly to avoid hand fatigue and to allow for better control. When not in use, keep them in a safe place, out of reach from children and pets.
Never attempt to catch a falling sharp tool; let it fall and pick it up after it lands. Always remember, the safe handling of sharp tools not only protects you from unexpected injuries but also helps to accomplish the task more efficiently and accurately.
Cutting Process

Positioning the Tile for the Cut
Before starting the cut, proper positioning of your glass mosaic tile is crucial. First, mark the line along which you want to cut the tile using a grease pencil or a permanent marker.
This line will guide your cut and help ensure precision. If you’re using a standard tile nipper, place the tile between the nipper’s jaws, aligning the scoring line with the edge of the nipper.
If you’re using a wet saw, position the tile on the machine’s table, adjusting it so the blade lines up with your marked line. Remember to secure the tile in place to prevent it from moving while you cut.
Proper positioning not only enables a cleaner cut but also significantly reduces the risk of chipping or damaging the tile.
Using a Glass Cutter
Using a glass cutter requires a steady hand and careful attention to ensure a clean cut. Begin by placing the tool at the far end of your marked line, ensuring your wheel is perpendicular to the tile surface.
Apply moderate pressure and, keeping your tool steady, glide it towards you along the marked line. You should hear a consistent scratching sound, indicating that the glass is being scored.
Once your line has been scored, use the “ball” end of your cutter or a pair of running pliers to gently tap along the line, encouraging a clean break. This method requires practice to master, but it offers a cost-effective solution for cutting glass mosaic tiles.
Using a Wet Saw
A wet saw is more suited for large jobs or intricate cuts. This machine employs a diamond-encrusted blade cooled by water to cut through hard materials, including glass mosaic tiles.
After positioning your tile on the saw’s table, line up the blade with your marked line. With safety goggles and gloves on, turn on the saw and guide your tile slowly and steadily into the blade, allowing the saw to do the work and never force the tile through.
As the blade slices through the tile, you’ll see that the water keeps the tile cool and reduces dust. Once your cut is complete, switch off the saw before retrieving your tile.
Smooth Cutting Technique to Prevent Breakage
Achieving a smooth cut on glass mosaic tiles is paramount to prevent breakage. A technique that is often overlooked but essential to cutting glass tiles smoothly is ‘relief cutting’. This involves making multiple small cuts leading up to the main cut line, which helps to prevent the tile from cracking or breaking under pressure.
Start by marking out your main cut line as usual, then make additional marks diagonally off the main line. These will be your relief cuts. Using a glass cutter or wet saw, make these relief cuts first, starting from the edge of the tile and cutting towards the main line.
These relief cuts reduce the pressure on the tile as you make your final cut along the main line. This technique requires a steady hand and patience, but the result is a smooth, clean cut with minimal risk of breakage.
Related Topics:
Post Cutting Process
Polishing the Cut Edges
Once the cutting process is complete, it’s critical to polish the cut edges of the glass mosaic tiles to remove any sharp or rough spots. Begin by using a diamond hand pad or a sanding stone, specifically designed for glass.
Always wet the pad or stone before starting the polishing process, as this prevents the glass dust from becoming airborne. Start with a coarser grit to remove the bulk of the roughness, moving the pad or stone along the edge in one direction. Afterward, switch to a finer grit to smooth out the surface further.
Remember to frequently rinse both the tile and the pad or stone during this process. Finally, wipe the tile dry and inspect the edges carefully using gloves to ensure they are smooth to the touch.
This polishing process not only ensures the safety of handling but also gives your glass mosaic tiles a professional, finished look.
Cleaning the Workspace
Following the cutting and polishing processes, it’s essential to thoroughly clean your workspace. Glass dust and shards can be hazardous, so always wear protective gloves and eyewear during the cleanup.
Start by wiping down your work surface with a damp cloth to collect any glass dust. Make sure to check the floor and surrounding areas for any larger pieces that may have fallen during the cutting process.
Dispose of the collected glass in a proper waste container to prevent any accidental injury. For any stubborn glass dust stuck on your tools or work surface, consider using a vacuum cleaner with a HEPA filter.
This type of filter can effectively trap small particles like glass dust, ensuring a thorough cleanup. Once all the glass particles have been collected and disposed of, wash the cloth or filter in warm, soapy water to remove any residual dust.
Lastly, ensure that your work area is dry and free from any glass fragments before your next tile-cutting session.
Conclusion
In conclusion, understanding how to effectively cut glass mosaic tiles can significantly enhance your home improvement projects. This detailed guide has provided essential steps, from preparation and marking to cutting and polishing, all while emphasizing the utmost importance of safety precautions.
By following these instructions, you can confidently handle and cut glass mosaic tiles with precision, resulting in professional-grade results for your home decor projects.
Remember, preparation, patience, and practice are the keys to mastering this skill. So, start small, practice regularly and you’ll soon find that cutting glass mosaic tiles is a task that, while demanding care, can be both fulfilling and creative.
FAQs
What type of cutter should I use for glass mosaic tiles?
Most professionals recommend a wet saw with a diamond blade for cutting glass mosaic tiles. The constant water flow keeps the blade cool, reducing the risk of cracking or chipping the tiles.
How do I prevent chipping while cutting glass mosaic tiles?
A: Always ensure your cutter is sharp and in good condition. Additionally, apply a piece of masking tape on the area to be cut. The tape helps reduce vibrations and provides a clean, chip-free cut.
Can I cut glass tiles without a wet saw?
Yes, glass mosaic tiles can also be cut using a manual scoring and snapping tile cutter. However, this method may not provide as clean and precise cuts as a wet saw.
The glass tiles are shattering when I cut them. What am I doing wrong?
This issue often arises due to excessive pressure or a dull blade. Ensure your saw blade is sharp and apply only moderate pressure while cutting.