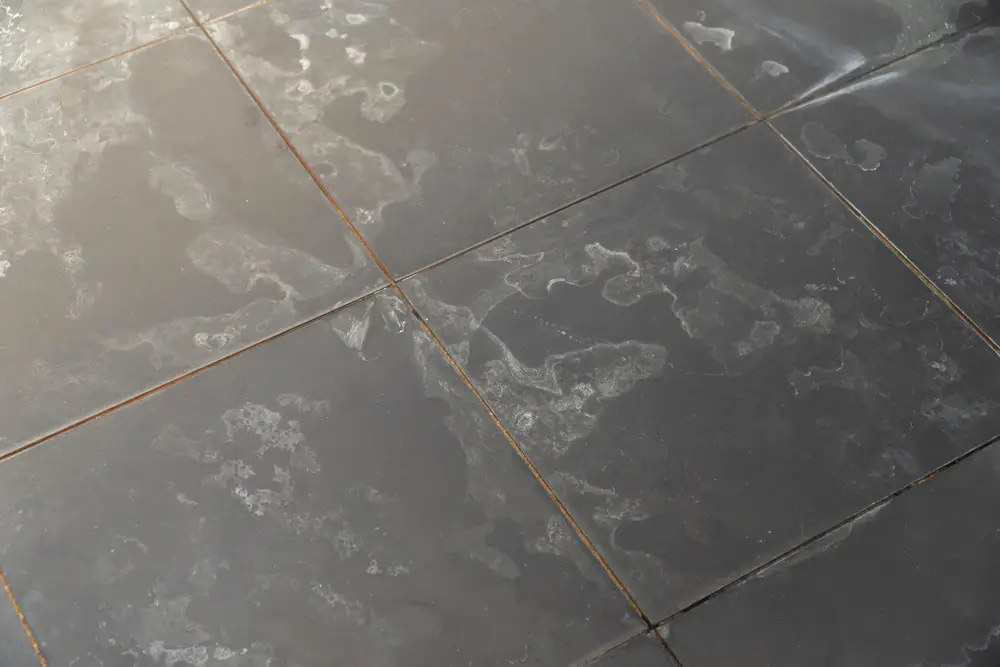
Removing stains from porcelain tiles can often seem like a daunting task. Porcelain tiles, known for their durability and glossy finish, are a popular choice for floors and walls in both residential and commercial spaces. However, they are not immune to the occasional spill or stain.
Whether it’s a splash of coffee in the kitchen, muddy footprints in the hallway, or a makeup drop in the bathroom, stains can detract from the beauty of your porcelain tiles.
In this guide, we’ll explore effective methods to tackle these stains, ensuring your tiles remain as pristine and lustrous as the day they were installed. Keep reading to discover how to rejuvenate your porcelain tiles and keep them stain-free.
Maintaining the pristine condition of porcelain tiles is crucial not only for aesthetic reasons but also for preserving their longevity and functionality. Over time, without proper upkeep, tiles can accrue stains that become tougher to remove and can significantly undermine the elegant look of your spaces.
Common types of stains include liquid spills such as wine, coffee, and tea, greasy substances from kitchens, and everyday dirt and grime.
Makeup and hair dye spills are typical in bathroom areas, while outdoor tiles may suffer from mud, plant stains, and even rust.
Addressing these stains promptly and appropriately ensures your porcelain tiles remain a durable and beautiful feature of your home or workspace.
Preparation
Gathering Necessary Cleaning Supplies
To effectively remove stains from porcelain tiles, it’s essential to have the right tools and cleaning solutions on hand. Here’s a list of supplies you should gather before starting the cleaning process:
- Mild detergent or pH-neutral cleaning solution: Ideal for most types of stains, these cleaners are gentle on tiles.
- Hydrogen peroxide or ammonia (for tougher stains): Use these with caution on more stubborn stains, ensuring the area is well-ventilated.
- Soft cloths and sponges: For applying cleaning solutions and wiping surfaces without scratching the tiles.
- Nylon-bristled brush: Useful for scrubbing away stubborn stains without damaging the tile’s surface.
- Rubber gloves: To protect your hands from harsh cleaning agents.
- Eye protection (goggles): To safeguard your eyes from accidental splashes of cleaning solutions.
- Bucket and mop: Essential for cleaning larger floor areas.
- Soft towel or microfiber cloth: For drying the tiles after cleaning to prevent water spots.
Safety Precautions and Protective Gear
Before you begin, it’s crucial to take some safety precautions to protect yourself and your tiles:
- Read product labels: Always read and follow the instructions and safety warnings on any cleaning product labels.
- Use protective gear: Wear rubber gloves and eye protection, especially when using ammonia, hydrogen peroxide, or any harsh chemical cleaners.
- Ensure good ventilation: Open windows and doors to keep the area well-ventilated, particularly when using strong cleaning solutions.
- Test on a small area: Before applying any cleaner to the entire surface, do a spot test on a small, inconspicuous area to ensure it doesn’t damage the tile.
- Avoid abrasive tools: Steer clear of steel wool, harsh scouring pads, or anything that could scratch the tile’s surface.
General Cleaning Method
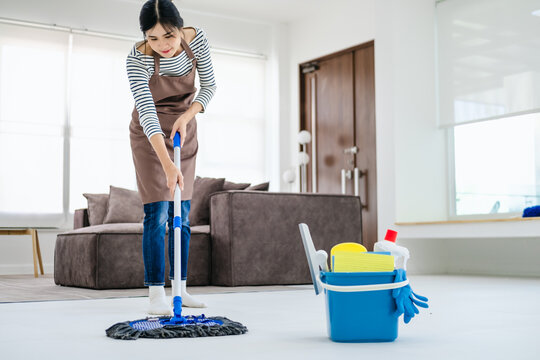
Initial Cleaning
To maintain the beauty and longevity of porcelain tiles, start with an initial cleaning to remove loose dirt, dust, and debris. This simple yet essential step prevents scratching the tile surface during the deep cleaning phase.
Sweeping or Vacuuming:
Begin by sweeping or using a vacuum cleaner (without a beater bar) to eliminate any dust, dirt, and small particles from the floor. It’s essential to pay extra attention to the grout lines and corners where dirt tends to accumulate.
Mopping:
After sweeping or vacuuming, use a damp mop with warm water to remove any remaining dust. This step also helps in preparing the surface for a more thorough cleaning with a suitable cleaning solution.
Ensure the mop is wrung out well to avoid saturating the tiles with water, as excessive moisture can lead to damage over time.
Appropriate Cleaning Solutions
When it comes to selecting the right cleaning solution for your porcelain tiles, it’s crucial to use a product that’s effective yet gentle enough to preserve the tile’s integrity.
Remember, porcelain tiles can be glazed, unglazed, or textured, and each type may require a slightly different approach.
pH-Neutral Cleaners:
For routine cleaning of porcelain tiles, especially glazed ones, a pH-neutral solution is ideal. These cleaners are gentle on the tiles and safe for grout lines, effectively removing grime without damaging the finish.
Simply add the recommended amount of cleaner to a bucket of warm water, mix well, and mop the floor, ensuring not drench the tiles.
DIY Solutions:
For a more natural approach, a mixture of warm water and a small amount of mild dish soap can serve as an effective cleaning solution.
This concoction is particularly suitable for unglazed tiles, which are more prone to absorbing liquids. Again, ensure the mop is barely damp to avoid water infiltration into the tiles.
Specialty Tile Cleaners:
For stubborn stains or high-traffic areas, you might consider a cleaner formulated specifically for porcelain tiles. These products can offer a deeper clean without harming the tile’s surface.
It’s important to follow the manufacturer’s instructions for use and conduct a spot test in an inconspicuous area first.
Specific Stain Removal Techniques
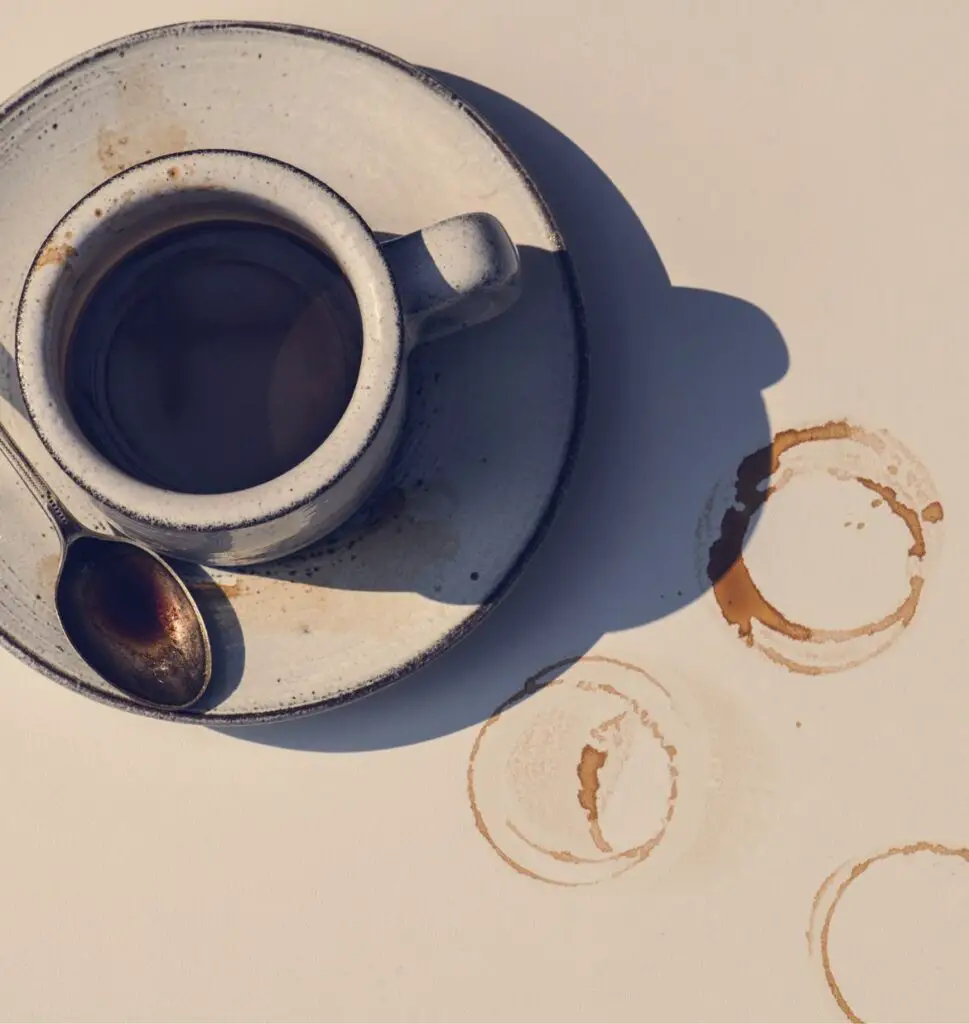
Organic Stains: Coffee, Tea
1. Initial Assessment
Begin by identifying the type of stain you’re dealing with. Organic stains like coffee, tea, and wine are common and can be treated effectively with the right approach. Assess the extent of the stain and the type of porcelain tile (glazed, unglazed, or textured).
2. Preparing the Cleaning Solution
For organic stains, a mixture of 50% white vinegar and 50% water is often effective. White vinegar acts as a natural disinfectant and cleaner, breaking down organic compounds without damaging the tile’s surface.
Mix the solution in a spray bottle for easy application.
3. Applying the Cleaning Solution
Spray the vinegar-water solution generously over the stain, ensuring it’s completely covered. Allow it to sit for 5-10 minutes. The acidity of the vinegar helps to break down the organic compounds in the stain.
4. Gentle Scrubbing
After letting the solution sit, use a soft-bristled brush or a microfiber cloth to gently scrub the stained area. It’s important to use gentle, circular motions to avoid scratching the surface of the tile, especially for glazed or textured tiles.
5. Rinsing
Once the stain appears to have lifted, rinse the area with clean, warm water. Use a clean, damp cloth to remove any residual cleaning solution and loosened stain particles from the surface of the tile.
6. Drying the Area
Use a dry, lint-free towel or microfiber cloth to thoroughly dry the treated area. This step is crucial to prevent water spots on glazed tiles and avoid water penetration into unglazed tiles, which could lead to damage over time.
7. Repeat if Necessary
For stubborn stains, you may need to repeat the process. However, it’s essential to wait until the tile is completely dry before applying the cleaning solution again to avoid saturating the tile.
Oil-Based Stains: Cooking oil, makeup
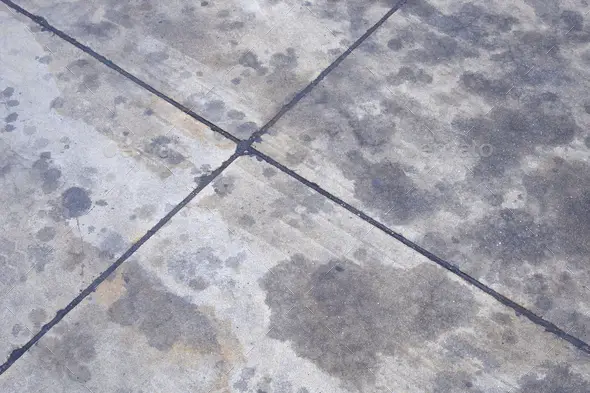
For oil-based stains, which can be especially stubborn on tile surfaces, using a cleaning solution that can effectively break down oils is crucial.
A mixture of baking soda and water to create a paste is highly recommended. Baking soda is a mild alkali that can dissolve dirt and grease in water, making it an ideal agent for tackling oil-based stains.
Additionally, for more stubborn stains, a small amount of mild dish soap can be added to the mixture to enhance its grease-cutting power.
Detailed Removal Instructions
Creating the Cleaning Paste:
Mix three parts baking soda with one part water to create a thick paste. For enhanced grease-cutting power, add a few drops of mild dish soap.
Applying the Paste:
Using a rubber spatula or the back of a spoon, spread the paste over the stain, ensuring it is fully covered. Allow the paste to sit on the stain for 15-20 minutes.
Gentle Scrubbing:
After the waiting period, use a soft-bristled brush to gently scrub the area in circular motions. The goal is to loosen the oil-based stain without damaging the tile surface.
Rinsing:
Rinse the area with warm water, using a clean, damp cloth to help remove any remaining paste and loosened oil particles from the tile surface.
Drying the Area:
Thoroughly dry the treated area with a clean, dry, lint-free towel or microfiber cloth. This step ensures no watermarks are left on the tile and prevents moisture absorption in porous tiles.
Repeat if Necessary:
If the stain persists, repeat the process. It may take a few applications for complete removal, especially with deeply penetrated oil stains.
Inorganic Stains: Ink, dye, rust
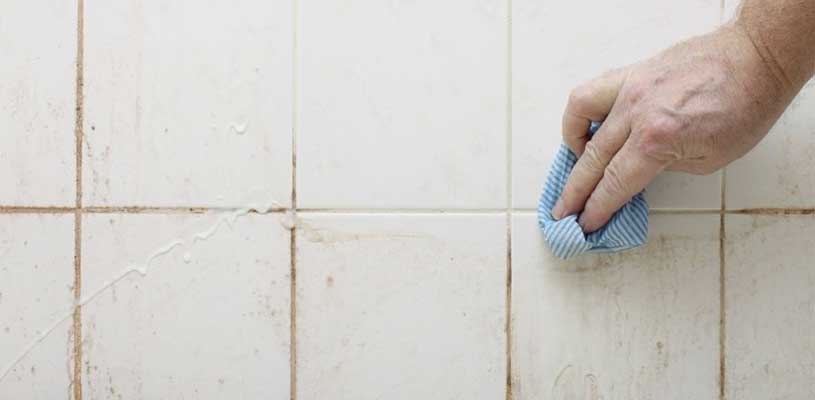
For tackling inorganic stains such as ink, dye, and rust on tiles, specific cleaning products and precise application methods can lead to the best results. Here are the recommended steps:
Choosing the Right Cleaner:
For ink and dye stains, isopropyl alcohol (rubbing alcohol) is highly effective. For rust stains, a commercial rust remover formulated for tile surfaces is recommended. Ensure the chosen product is tile-safe by checking the manufacturer’s instructions.
Applying the Cleaner:
For ink/dye stains: Apply isopropyl alcohol directly to a clean cloth and dab onto the stain. Avoid pouring directly on the tile to prevent spreading the stain.
For rust stains: Follow the specific application instructions on the rust remover product. Typically, this involves applying the remover directly to the stain and allowing it to sit for a specified time.
Gentle Cleaning:
With a soft brush or cloth, gently work the cleaner into the stain in a light circular motion. For rust stains, a nylon brush might be necessary to break up the rust without scratching the tile.
Rinsing and Drying:
Rinse the area thoroughly with clean water. Use a lint-free cloth or towel to dry, ensuring no residue is left behind.
Repeat if Necessary:
Stubborn stains may require a second treatment. Always wait for the area to dry completely before assessing if a repeat application is needed.
Related Topics:
Aftercare
Rinsing plays a critical role in the tile cleaning process by removing any leftover cleaner that could potentially damage the tile surface over time. Use clean, lukewarm water for rinsing, and avoid using excessive water that could seep into grout lines and cause damage.
After rinsing, drying the tiles is equally important. A soft, lint-free cloth or towel should be used to pat the tiles dry, preventing water spots or streaks.
Ensuring the area is completely dry not only maintains the aesthetic appeal of the tiles but also prevents the growth of mold and mildew.
Maintaining the pristine look of porcelain tiles involves regular care and gentle cleaning methods:
Regular Sweeping or Vacuuming: Daily sweeping or vacuuming removes dirt and debris before it can become ground in.
Prompt Spill Cleanup: Immediate cleanup of spills prevents staining, especially on porous or unglazed tiles.
Mild Detergent for Routine Cleaning: Use a mild detergent diluted in warm water for regular washing. Avoid harsh chemicals that can dull the tile’s finish.
Avoid Abrasive Tools: For stubborn stains, resist the urge to use steel wool or harsh scrubbing tools that can scratch the tile surface.
Sealing Grout Lines: Periodically seal grout lines to prevent staining and facilitate easier cleaning.
Professional Cleaning: Consider professional cleaning once every few years to remove deeply penetrated dirt and restore the tile’s shine.
Preventive Measures
Adopting proactive strategies for stain prevention and routine maintenance is essential in preserving the beauty and longevity of porcelain tiles. Here are some effective measures:
Immediate Attention to Spills: React quickly to any spills by blotting them up rather than wiping them, which can spread the spill. Use a clean, dry cloth or paper towel for best results.
Protective Mats and Rugs: Place mats or rugs at entry points to minimize the amount of dirt and grime tracked onto the tile. Ensure these are non-slip and compatible with your tile.
Furniture Protectors: Use felt pads or protective caps under the legs of furniture to prevent scratches and scuffs on the tile surface when moving items around.
Regular Inspection of Sealant: Consistently check the condition of the sealant, especially in high-traffic areas and around wet zones like bathrooms and kitchens. Reapply sealant as required to maintain its protective barrier.
Avoid Harsh Chemicals: For daily or routine cleaning, choose pH-neutral cleaners to avoid discoloration or damage to both the tile and grout lines.
Conclusion
Removing stains from porcelain tiles requires prompt action, appropriate materials, and a gentle yet effective approach to preserve their aesthetic and functional qualities. Porcelain tiles, celebrated for their resilience and sheen, demand regular maintenance to fend off the dulling effects of everyday spills and stains.
This guide underlines critical strategies, from assembling the right cleaning supplies to adopting preventive measures, ensuring that your porcelain tiles remain as immaculate and radiant as when first laid.
By adhering to the outlined steps and tips, including immediate attention to spills, use of protective mats and furniture pads, and periodic professional cleaning, you can ensure the longevity and beauty of your porcelain surfaces.
FAQs
Can vinegar be used to clean porcelain tiles?
While vinegar is a popular natural cleaning solution, it’s acidic and can damage the grout when used on porcelain tiles. It’s recommended to use pH-neutral cleaners for routine maintenance.
How often should porcelain tiles be professionally cleaned?
It depends on the traffic and usage of the area. However, having them professionally cleaned once a year can help maintain their appearance and durability.
Is it necessary to seal porcelain tiles?
Not all porcelain tiles require sealing. Glazed tiles, for example, come with a protective layer. However, unglazed porcelain tiles might benefit from sealing to protect against stains and moisture.
