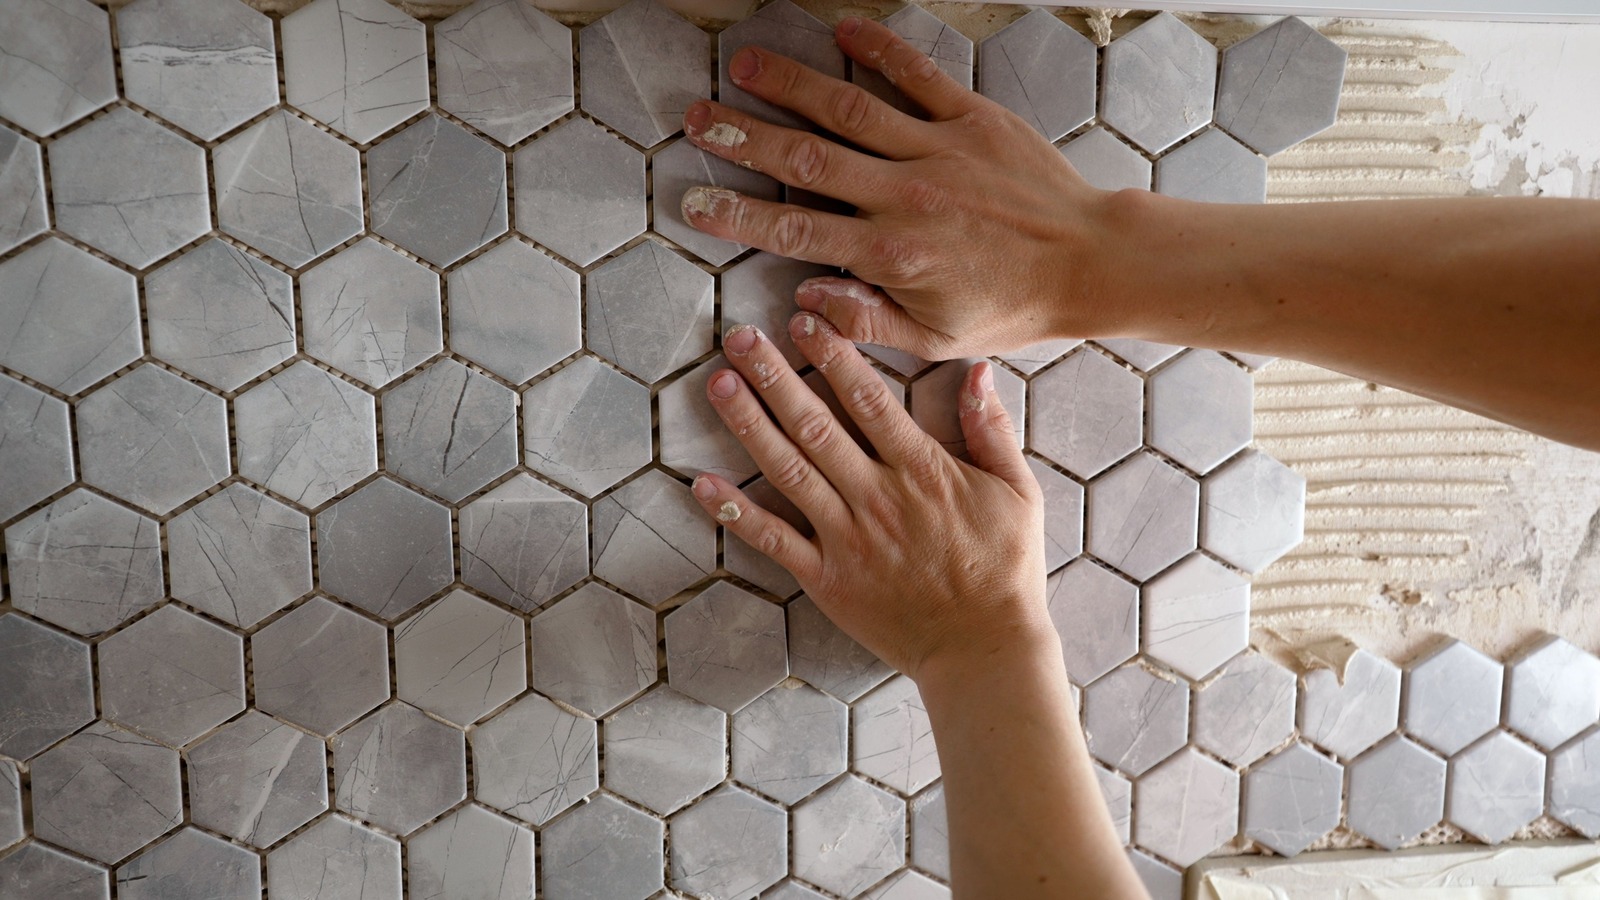
Removing mosaic tiles can seem like a daunting task due to their small size and the precision often required. However, with the right approach, tools, and a bit of patience, you can accomplish this task without damaging the underlying surface.
This guide will provide you with step-by-step instructions on how to remove mosaic tiles, ensuring you’re well-equipped to take on the task.
Preparation
Gather Necessary Tools
Before you begin the process of removing mosaic tiles, it’s critical to have all the necessary tools at your disposal:
- Chisel: A narrow, flat chisel is ideal for removing mosaic tiles. It’s used to pry off the tiles from the underlying surface.
- Hammer: The hammer is used in conjunction with the chisel. It provides the force needed to drive the chisel beneath the tiles.
- Safety Goggles: These are crucial for protecting your eyes from tile shards that may fly off during the removal process.
- Gloves: A pair of sturdy gloves will protect your hands from sharp edges and give you a better grip on the tools.
Prepare the Area
Covering your furniture and flooring with plastic sheeting is an important step to prevent any damage. Mosaic tiles can break into small, sharp pieces which could scratch or dent your furniture and flooring. To protect these surfaces:
- Plastic Sheeting: Get some heavy-duty plastic sheeting. The thickness should be substantial enough to prevent sharp tile fragments from puncturing through.
- Cover Furniture: Drape the plastic sheeting over your furniture. Secure it with tape to ensure it stays in place during the tile removal process.
- Protect the Floor: Lay down plastic sheeting on the floor, ensuring that it extends a few feet beyond the area where you’ll be working. This will catch any falling tiles or debris. Secure the edges of the sheeting with tape to prevent it from shifting.
Wear Safety Goggles and Gloves
Before starting the process of removing mosaic tiles, it’s crucial to prioritize your safety. This involves protecting your eyes and hands from flying debris, which could lead to injuries.
Safety Goggles:

Always wear safety goggles before you start working. These glasses will safeguard your eyes from tiny tile fragments that may get dislodged during the chiseling procedure. Ensure the goggles fit comfortably and provide a broad field of vision.
Gloves:
A pair of sturdy gloves will shield your hands from sharp tile edges and any debris. Gloves will also provide you with a secure grip on your tools, reducing the likelihood of slips that could lead to accidents.
Ensure the gloves are comfortable and offer sufficient flexibility to maneuver the tools effectively.
Loosening the Tiles
Start at an edge
Starting your tile removal from an edge or a loose tile can make the process considerably easier. This is especially true for mosaic tiles, which are smaller and more intricately placed than standard tiles.
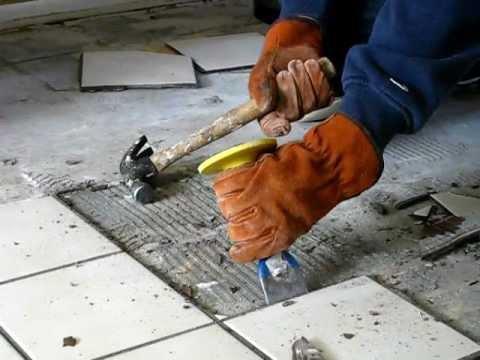
Chisel and Hammer: To start, gather your chisel and hammer. The chisel should be slim enough to fit beneath the tile edge without causing unnecessary damage to the surrounding surface.
Gently Tap: Position the chisel at an angle beneath the edge of the tile, or under a loose tile if one exists. Use the hammer to tap gently on the end of the chisel.
This action should be done with care, as forceful hits might break the tile into tiny, sharp pieces or damage the underlying surface.
Leverage: As the chisel goes beneath the tile, it will start to lift the tile away from the surface. This is due to the levering effect that you’re creating with the chisel. Continue to tap gently, moving the chisel as needed to lift more of the tile.
Repeat: Once you’ve successfully removed one tile, continue this process with the neighboring tiles. Take care to maintain the gentle tapping to prevent damage or injury. This methodical approach will quickly yield results, with rows of tiles coming loose.
Lever the Tile
After successfully loosening the tile with the chisel and hammer, you can now focus on properly leveraging it off the wall or floor.
Apply Pressure: Position the chisel at the point where the tile is already lifted, then apply gentle yet consistent pressure underneath the tile.
This process is similar to using a pry bar, where the goal is to use the levering effect of the chisel to separate the tile from the wall or floor entirely.
Pop Off: As you maintain and increase the pressure, the tile should start to pop off from the surface. Be careful while doing this as you want to avoid breaking the tile into sharp pieces.
Be Gentle: Remember to be gentle and patient during this process. Mosaic tiles are usually small and intricately placed, so they may require more attention and care compared to larger tiles.
Repeat: Once you’ve managed to completely remove one tile, replicate this process with the remaining loosened tiles.
With each tile removed, you’ll find the task becoming easier as you gain more access to the edges of the surrounding tiles.
Removing the Tiles
Continuing the Process
The key to successful mosaic tile removal is repetition and patience. As you proceed with the removal, focus on the edges of the adjacent tiles that are already exposed.
Position the Chisel: Start by positioning the chisel underneath the edge of the next tile. Make sure the chisel is flat and that you’re holding it at a slight angle for maximum effectiveness.
Gentle Chiseling: Tap the end of the chisel gently with the hammer. The vibration caused by this will help in breaking the adhesive bond between the tile and the surface.
It’s important not to hit too hard, as the goal is to lift the tile off without breaking it.
Levering Off: Once you feel the tile start to loosen, apply pressure underneath it, similar to the prying action you used earlier. This levering action should make the tile pop off the surface.
Safety Precautions: Always be careful during this process. The tiles can break and create sharp edges. It’s advisable to wear safety glasses and gloves to protect yourself from potential injury.
Repeat: After you’ve successfully removed another tile, repeat this process. Gradually, you’ll notice you’re gaining more access to the edges of the remaining tiles, making the task easier as you progress.
Remember, the key to removing mosaic tiles is patience and consistency. The process may seem slow at first, but with time and practice, you’ll find your rhythm and speed.
Be Patient
Mosaic tile removal requires a delicate balance of force and precision. While you might feel the urge to expedite the process, it’s crucial to remember the importance of working slowly and patiently to avoid damaging the underlying surface.
The adhesive that binds tiles to the surface is often strong, and abrupt or forceful removal can lead to unnecessary surface damage.
When you’re chiseling, apply steady, gentle pressure instead of strong hits. The goal is to create a vibration that loosens the adhesive, not to force the tile off in one piece. Think of it as a gentle nudging process.
You want to coax the tile from its position rather than forcibly evict it.
Also, as you leverage the tile off, do so with gradual, even pressure. Quick or jerky movements can crack the tile, potentially leading to sharp shards that might scratch or gouge the surface.
By maintaining a slow and steady pace, you’ll ensure the underlying surface remains intact, ready for your next tiling project.
Remember, removing mosaic tiles is not a race. It’s a careful process that takes time. Patience is your greatest ally in this task. Work methodically and consistently, and over time, you’ll see your progress.
Keep the end goal in mind – a clean, undamaged surface ready for its next transformation.
Related Topics:
Cleanup
Sweep up Loose Debris
After you have successfully removed the mosaic tiles, the next step is to ensure that the area is completely free from any remaining tile fragments. Start by using a broom and dustpan to sweep up the larger pieces of debris.
Be meticulous in your approach to ensure no pieces are missed, as these could pose a hazard later on. Small shards of tile can be sharp and may cause injury if not properly cleaned up.
They could also interfere with the new tiling process. Once the larger pieces have been swept up, use a vacuum cleaner to remove any smaller shards or dust particles. This thorough cleanup not only ensures safety but also helps to prepare the surface for any subsequent tiles or treatment.
Dispose of the Old Tiles
Adhering to local regulations for the disposal of construction waste is crucial when it comes to getting rid of old mosaic tiles. Many areas have specific guidelines and designated facilities for the disposal of such materials.
Check with your local waste management facility or recycling center to understand the proper procedure. Some places may require you to bag the tiles separately, while others may have a dedicated disposal bin for construction waste.
Always wear protective gloves when handling the removed tiles to prevent injury from sharp edges. If in doubt about the proper disposal method, seek advice from a professional.
Conclusion
Removing mosaic tiles is a task that requires a strategic approach, the right tools, and a considerable amount of patience. However, with this comprehensive guide, you’re now equipped with the necessary know-how to undertake this project.
Remember to gather all your required tools before you begin, focus on safety by wearing goggles and gloves, and start from an edge or loose tile for ease.
Be consistent in your chiseling and levering off process, but ensure you work slowly to avoid damaging the underlying surface. Following removal, be meticulous in your clean-up, sweeping up, and vacuuming all debris.
Dispose of the old tiles responsibly, adhering to local regulations. By following these steps, you can successfully remove mosaic tiles and prepare your surface for its next transformation.
FAQs
Is there any special equipment needed to remove mosaic tiles?
Yes, there are a few key pieces of equipment needed to safely and effectively remove mosaic tiles. This includes a chisel, a hammer, a pry bar, and safety equipment like gloves and goggles. Always remember to wear your safety equipment to prevent any potential injuries.
What should I do if the underlying surface gets damaged during the tile removal process?
If the underlying surface gets damaged during the removal process, you may need to repair it before you proceed with installing new tiles. Depending on the extent of the damage, this could involve filling in any holes or cracks with a suitable filler, or in more severe cases, it might require the replacement of portions of the surface. If you’re unsure about how to proceed, consider seeking advice from a professional.